Setting up a network printer for Windows XP is wildly counter-intuitive. I keep these instructions around to help my friends, and to remind me that sometimes, especially with Windows, you have to do the opposite of what the instructions say ;-)
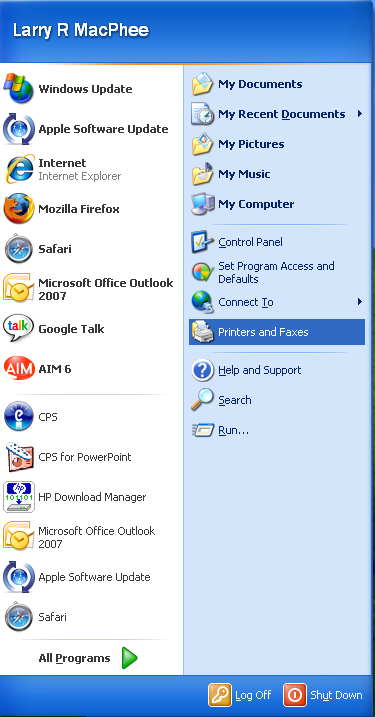
1. From the Start menu, select Printers and Faxes
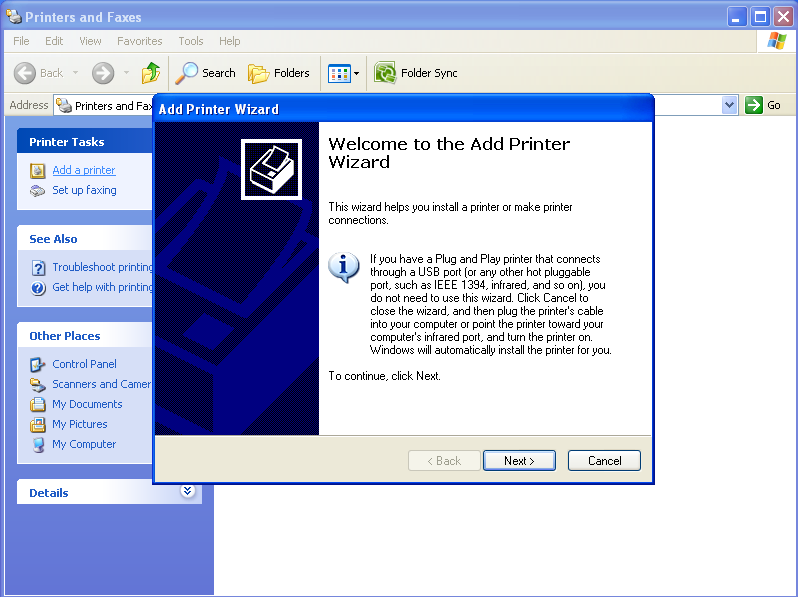
2. Click on the Add a Printer link in the left hand sidebar.
3. This is where most people go off track. Choose Local printer even though the printer you're setting up will be a network printer and is not attached directly to your computer. Don't check the Automatically detect box. If the box is checked, Windows will try to find it and eventually fail miserably.

4. Create a new TCP/IP Port. This is not a physical port on the computer. It is a virtual port in Windows.
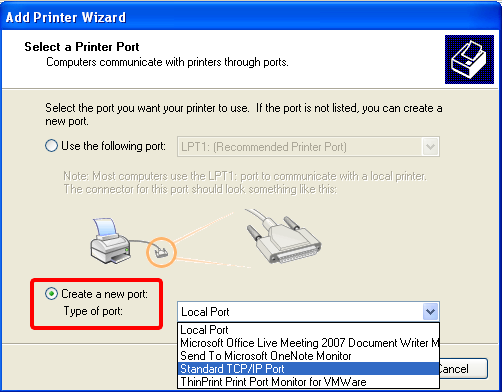
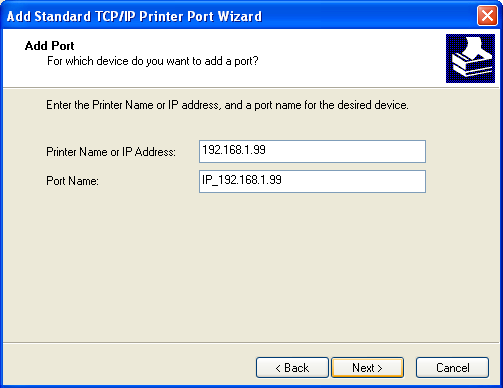
5. Enter the static IP address of the printer in the first box. The Port Name will be created automatically. Best to use a static address because dynamic addresses change from time to time. If your printer doesn't already have an IP address, you may need to configure this manually using your printer's control panel. Sorry! That will also be tedious!
About IP addresses: On your home network, IP addresses are assigned by your DSL or Cable Modem or Wireless Access Point. Typically, the device that assigns addresses is at the address: 192.168.1.1 or 192.168.0.1, or sometimes 10.0.1.1 or 10.0.0.1. If you have an Apple Wireless Access Point, use the Airport Utility. For other brands, usually you can use a web browser to access the device, by typing in its address and entering the default username and password. The last digit in the IP address will be some other value for each device on your network. For example, if your DSL Modem is at 192.168.1.1, your computer might be at 192.168.1.2 and your printer could be at 192.168.1.3. If you give your printer a high number, like 99 or 100 for example, it is less likely to be taken by any other device (and is easy to remember). That final digit ranges from 1 to 254. Don't go any higher than that.
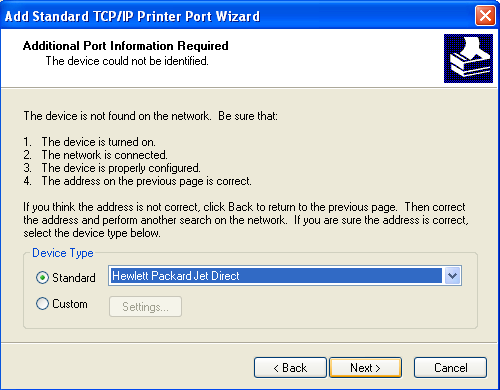
6. For Hewlett Packard printers with an ethernet port, select HP Jet Direct as shown. Otherwise, generally select the "generic" option.
7. Click on the Finish button, even though you're not finished ;)

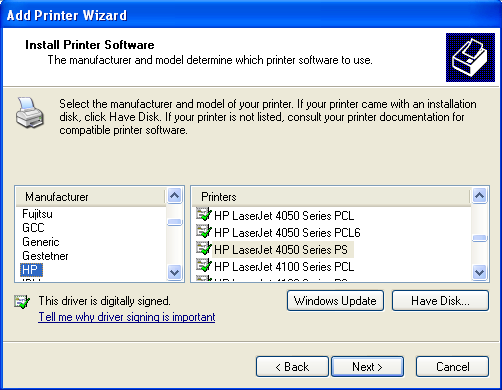
8. Select your printer brand and the closest match on model. PS is PostScript and is usually the best option.
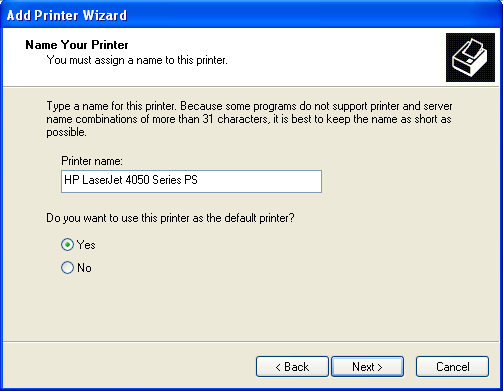
9. In most cases, you will want this to be your default printer.
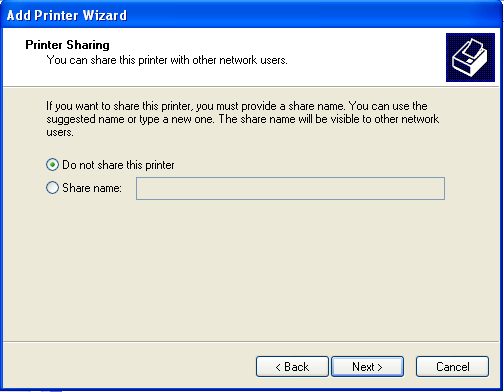
10. Do not share the printer...what they're really asking is if you want to manage the printer using this computer and you generally don't want to. The printer will be just fine without being managed.
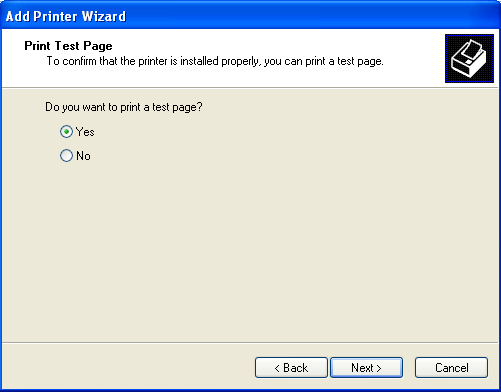
11. Now you're really done. Print a test page to confirm that everything's working.