Creating a quiz in Moodle
Creating quiz placeholder called Getting Started Quiz
- Log in to Moodle (if you are not already logged in). To do so,
- Go to moodle.nau.edu.
- Click the Login button
- Click the Click Here to Login link.
- On the Central Authentication Service page, in the UserID field type your NAU login ID, and in the Password field, type your password.


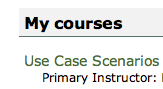
- From your My courses list, click the Use Case Scenarios link.
-
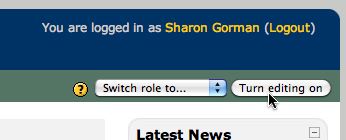
Click the Turn editing on button located in the upper right hand corner
-
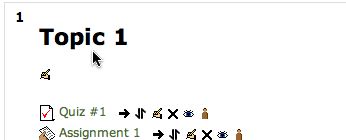
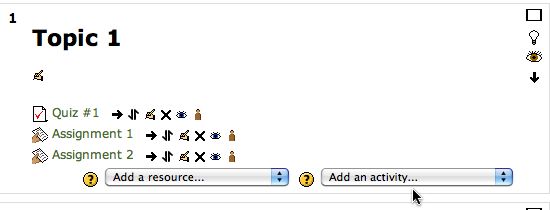
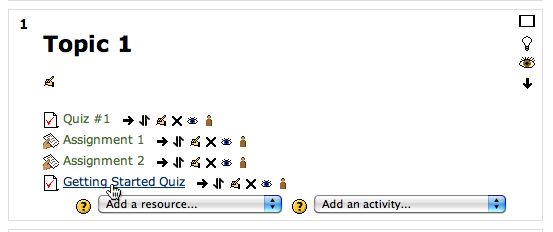
Locate Topic 1
-
At the bottom of the Topic 1 section, locate and click Add an activity...
-
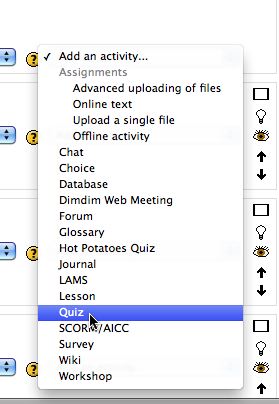
A drop down menu of activities will appear. Scroll down and click onto Quiz.
-
At the top of the screen you will see the title Adding a new Quiz.
- Enter the quiz name
Getting Started Quiz in the Name field. Note that a quiz name is a required field noted by the red asterisk.
- Enter the following text in the Introduction text field:
Please complete the Getting Started Quiz before you begin Module 1. This quiz is worth 10 points.

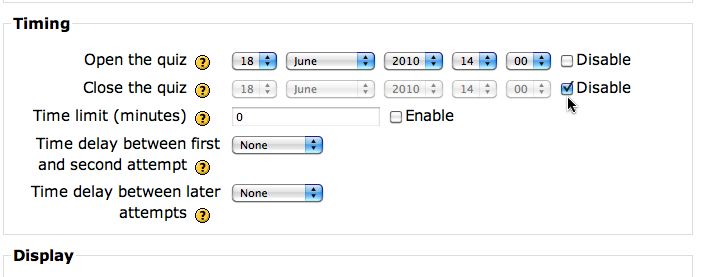
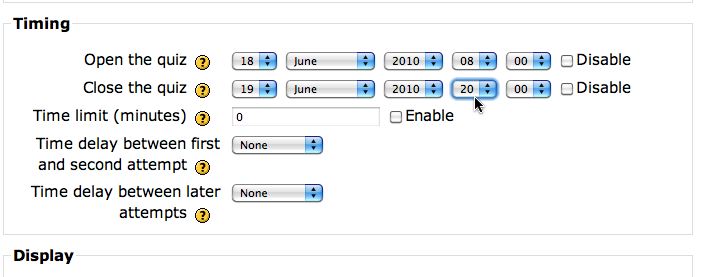
- Under the timing section, uncheck the Disable checkboxes to the right of both Open the quiz and Close the quiz.
- Next to Open the Quiz, enter today's date with the time 08 00 (or at 8:00 am).
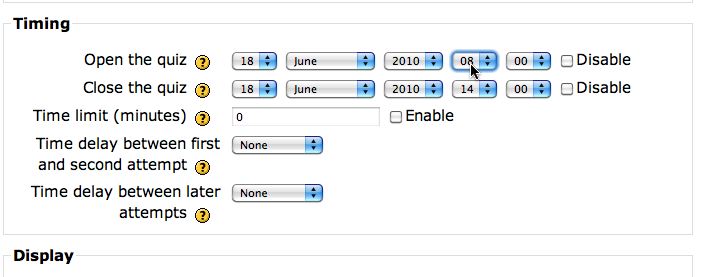
- Next to Close the quiz, enter tomorrow's date with the time 20 00 (or at 8:00 pm).
-
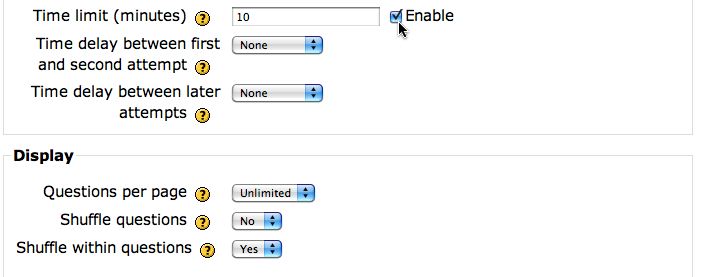
Check the box next to Enable to set the time limit in minutes. Enter
10 in the field to indicate the time limit in minutes.
-
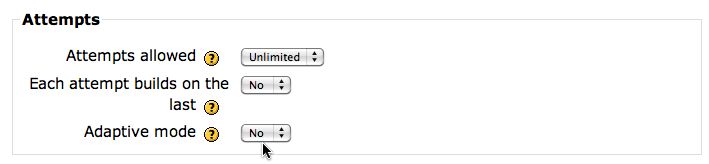
Scroll down to Attempts section, make sure the Adaptive mode is set to No. Note: If you choose "Yes" for the Adaptive Mode option then the student will be allowed multiple responses to a question even within the same attempt at the quiz.
-
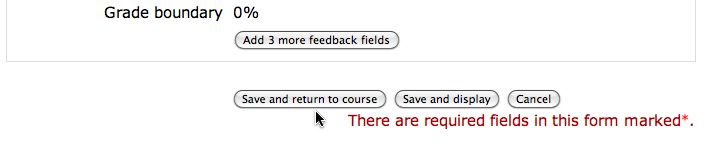
Scroll down to the bottom of the screen and click onto the button Save and return to course.
Creating questions in the Getting Started Quiz
-
Now, click onto the Getting Started Quiz located in the Topic 1 section.
-
Click onto Categories located in the light gray band.
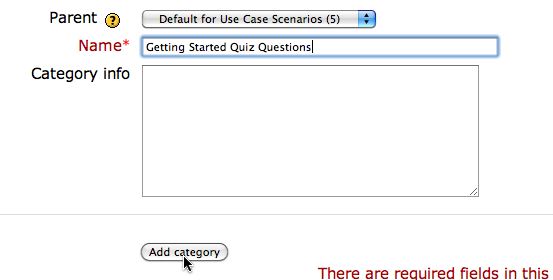
- Scroll down to the Name filed and enter
Getting Started Quiz Questions
-
Scroll down to the bottom of the screen and click onto the Add Category button.
-
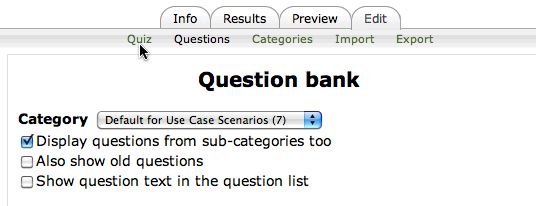
Now click onto Questions located in the light gray bar.

-
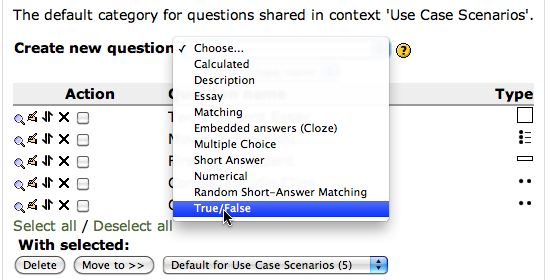
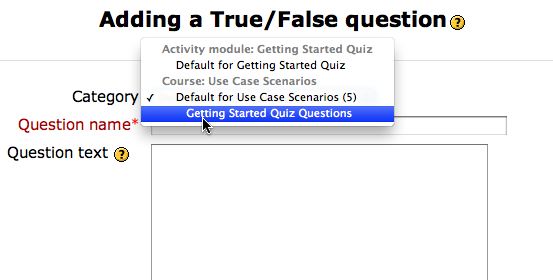
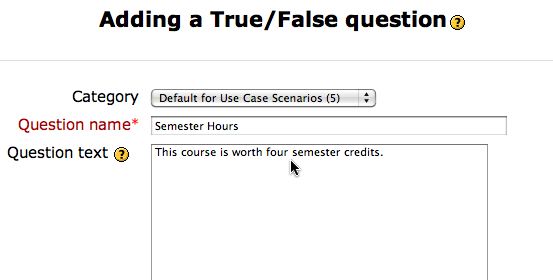
Scroll down to and select Create new question. Select True/False from the drop down menu.
-
Next to Category, select Getting Started Quiz Questions in the drop down menu.
-
Enter
Semester Hours in the Question name field. Note: This question name will help you identify the question in database in the future.
- Now enter the following question text:
This course is worth four semester credits.
-
Scroll down and locate Correct answer. Select True from the drop down menu.
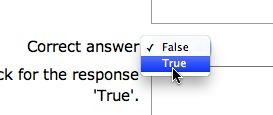
-
Scroll down to the bottom of the screen and click onto the Save changes button.

-
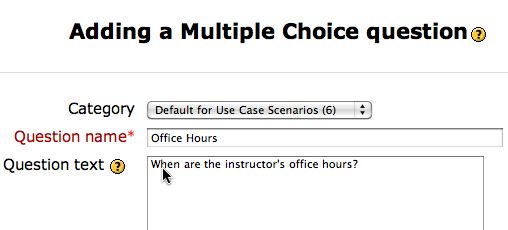
Again, locate Create new question, and select Multiple Choice from the drop down menu.
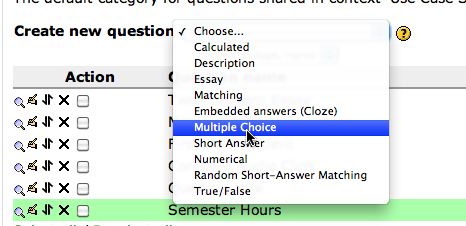
- Next to Category, select Getting Started Quiz Questions in the drop down menu.

-
Enter
Office Hours in the Question name field. Note: This question name will help you identify the question in database in the future.
- Enter the following question text:
When are the instructor's office hours?
-
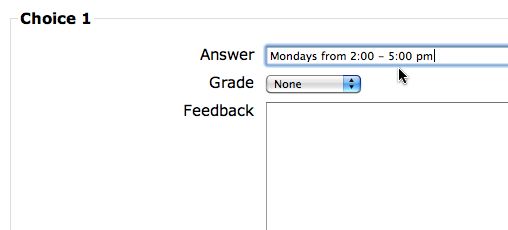
Scroll down. Under Choice 1 section, enter
Mondays from 2:00 - 5:00 pm
-
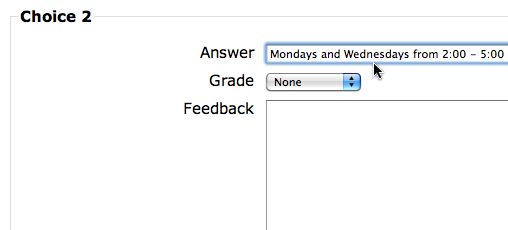
Under Choice 2 section, enter
Mondays and Wednesdays from 2:00 - 5:00 pm
-
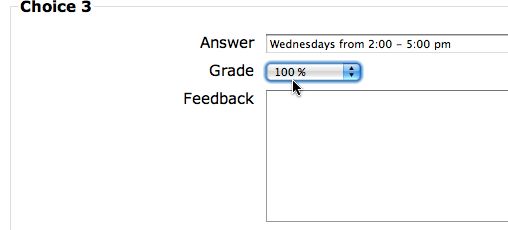
Under Choice 3 section, enter
Wednesdays from 2:00 - 5:00 pm. Next to Grade select "100%" from the drop down menu to indicate that this is the correct answer.
-
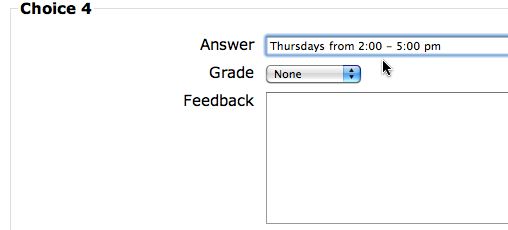
Under Choice 4 section, enter
Thursdays from 2:00 - 5:00 pm
-
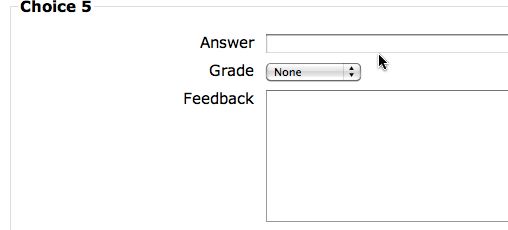
Under Choice 5 section, leave it blank.
-
Scroll to the bottom of the screen and click onto the Save changes button.

Adding questions to the Getting Started Quiz
-
Click onto Quiz located in the light gray band.
-
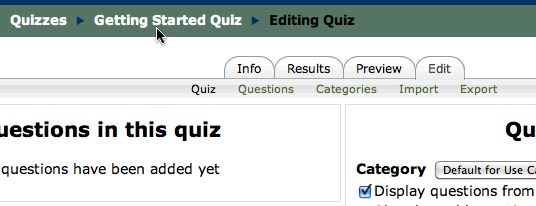
Verify that you see Quizzes/ Getting Started Quiz in the breadcrumb trail.
-
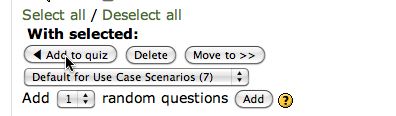
Locate and check the tick boxes next to the two questions: Office Hours and Semester Credits.

-
Scroll down and click on to the button Add to quiz.
-
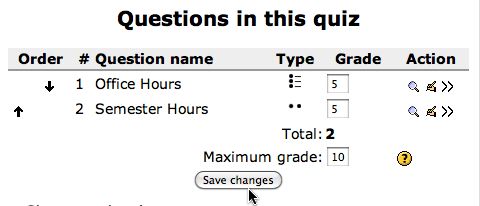
On the left hand side of the screen, locate the Grade column. Enter
5 in the check box next to Office Hours. Then enter 5 in the check box next to Semester Credits.
- Click the Save Changes button.
 s
s
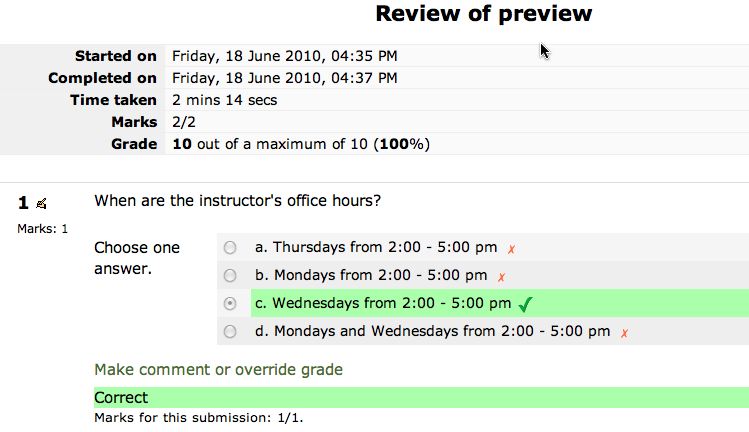
Previewing the Getting Started Quiz
-
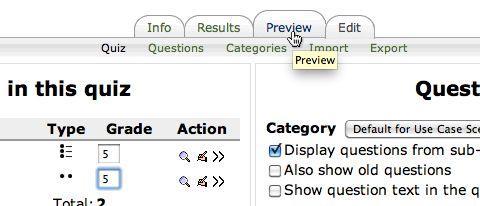
Click onto the Preview tab to the left of the Edit tab.
-
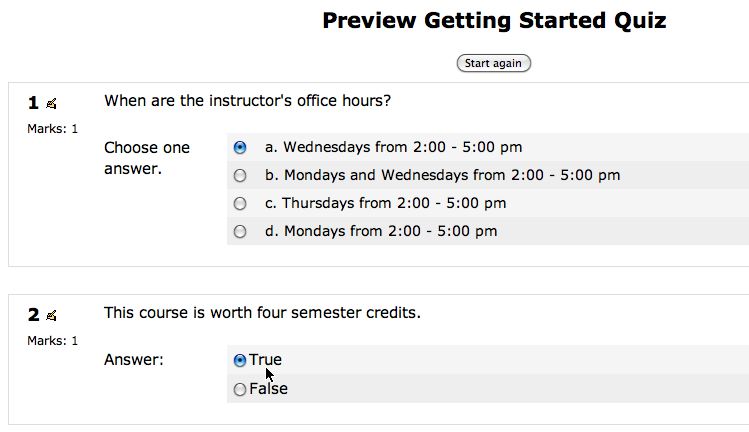
Select the answer, Wednesdays from 2:00 - 5:00 pm, in Question 1.
- Select True in Question 2.
-
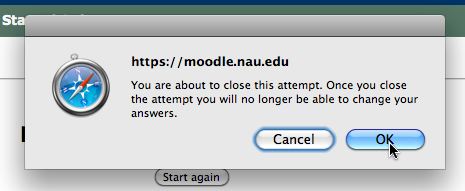
Click onto the button Submit all and finish.

-
A pop-up gives a warning about making sure you are ready to submit, click OK.
-
Finally, you will se a review of the preview with correct answers identified with a green check and your selected answers.